Excalibur · Editorial guide
Apple chips in an Excalibur: thickness, dryness and storage
Good apple chips begin with consistent preparation, not the largest possible load. Slice a small batch evenly, leave space for airflow and judge the cooled fruit. A timer helps organise the kitchen, but it cannot prove that every slice has reached the same dryness.
Published:
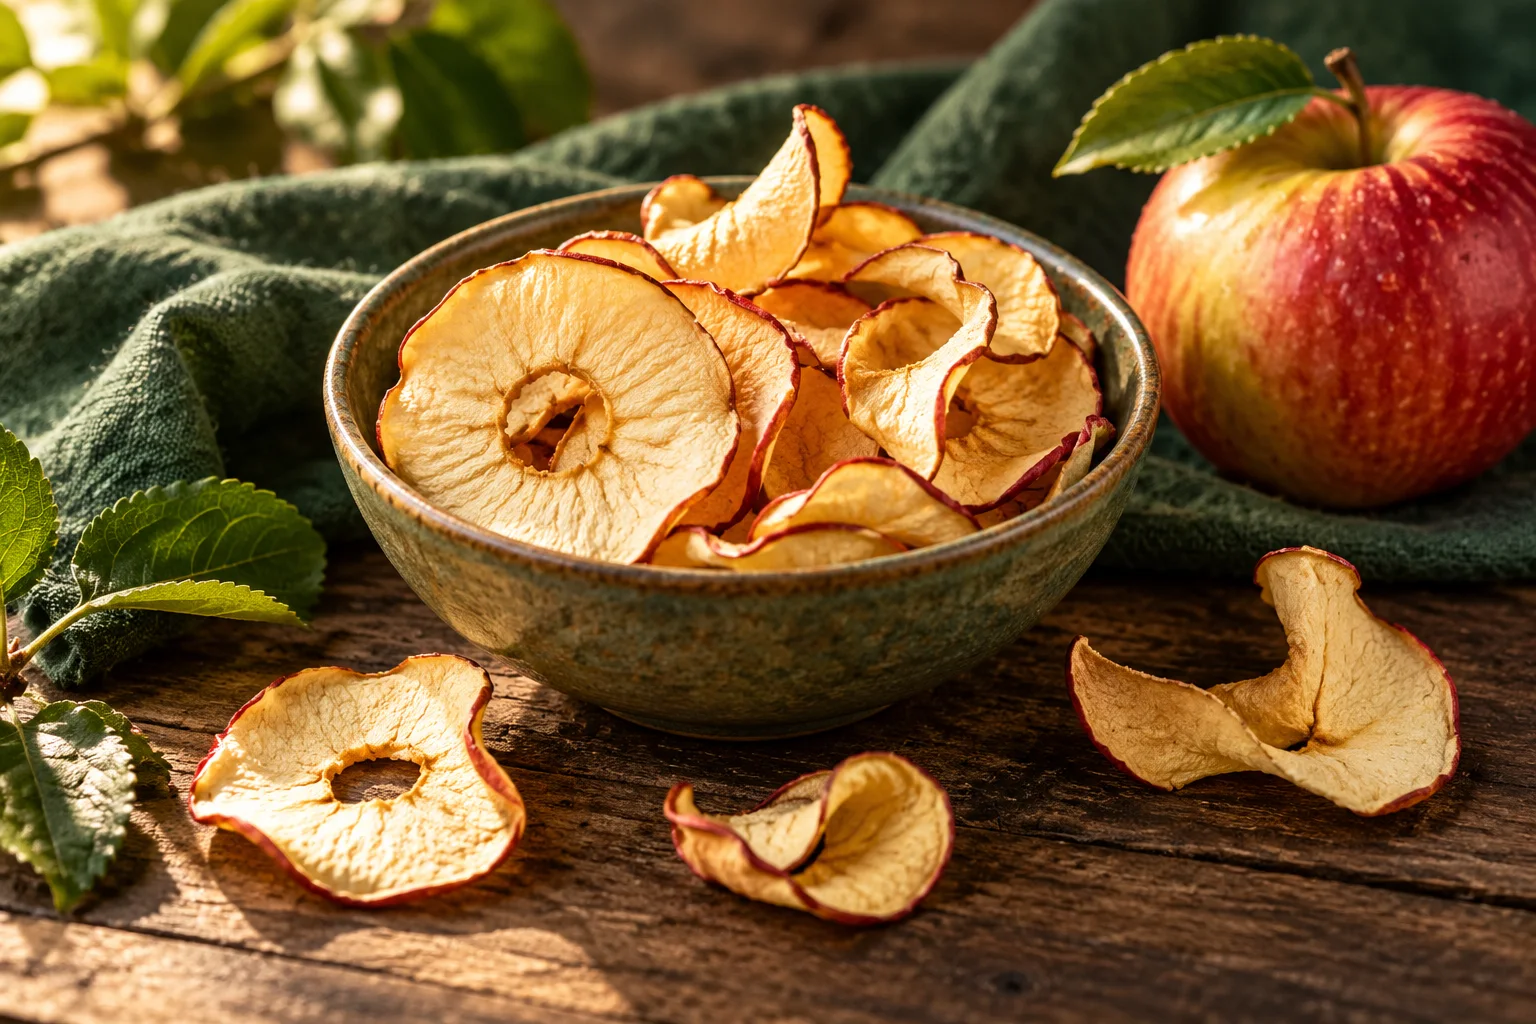
Pick a repeatable starting batch
Choose firm, sound apples and discard rotten fruit. Wash, core and slice them evenly. Around 5–6 mm is a practical starting thickness to compare with the supplied drying guide; thinner slices behave differently and should be treated as another batch. Peeling is optional, and peel can change the finished texture.
If you use an anti-browning treatment, follow a tested food-preservation method or the treatment product’s instructions. This recipe does not require an improvised concentrated chemical dip. Drain the slices well before loading.
Give the air a route
Lay slices in a single layer without stacking. Use the trays and food-contact accessories specified for your actual Excalibur model and leave the ventilation clear. Follow the supplied instructions for loading, operating limits and any tray repositioning.
The manufacturer’s general fruit guide commonly uses about 57°C, but check the instructions for your exact model and intended food. Different Excalibur families have different controls and operating limits. Do not borrow a setting from one model and assume its timer permits another model to run indefinitely.
Check the fruit after it cools
Begin checking before the end of a broad guide time rather than relying on a promised finish hour. Thickness, variety, tray loading and room conditions all affect drying. Take out a sample and cool it before judging the texture.
For chips, aim for the crisp texture you want after cooling. Other dried-apple preparations may remain pliable; there should not be visible liquid when a test piece is squeezed or cut. If a sample has a moist centre or fails your drying guide’s checks, continue drying and test again.
Cool, check and package
Do not seal warm slices straight into a storage jar. Follow the National Center for Home Food Preservation’s fruit-conditioning procedure: cooled dried fruit is loosely packed into containers, checked and shaken daily over 7–10 days so uneven residual moisture can be identified.
If condensation appears, return the fruit for further drying and repeat the appropriate checks. Discard mouldy food. Store properly dried, conditioned fruit in clean, airtight containers in a cool, dry, dark place, checking it during storage. A photograph of crisp chips is not evidence of a shelf life.
Make the next batch more useful
Keep a short record of variety, slice thickness, tray load, selected temperature and the observed finish. For another flavour, compare a light dusting of cinnamon on a small portion. Avoid adding a wet coating that changes the drying conditions without planning a separate batch.
Ingredients
- Firm, sound apples; start with a small batch
- Cinnamon, optional
- An anti-browning treatment prepared according to a tested method, optional
Method
- Wash, core and slice apples evenly; prepare any chosen anti-browning treatment correctly.
- Drain and arrange in one layer on the approved trays.
- Dry using the fruit guidance and operating limits for the supplied model.
- Cool sample slices and check dryness; continue drying if needed.
- Cool the batch, follow fruit-conditioning guidance, then package and monitor during storage.
Questions & answers
Can I promise a fixed drying time?
No. Use the model’s guide as a starting range and check the actual fruit, including cooled samples.
What if moisture appears in the storage container?
If the food has not spoiled, follow the preservation guidance for further drying. Mouldy food should be discarded.
Sources and further reading
Excalibur: introduction to dehydrating
National Center for Home Food Preservation: conditioning and storage