Brod & Taylor · Editorial guide
Brod & Taylor: a steadier routine for bread fermentation
A proofer helps make one part of bread making more consistent: the environment around the dough. It does not decide when fermentation is complete. Begin with a recipe you already know, then use a simple log to connect the setting with the dough’s actual behaviour.
Published:
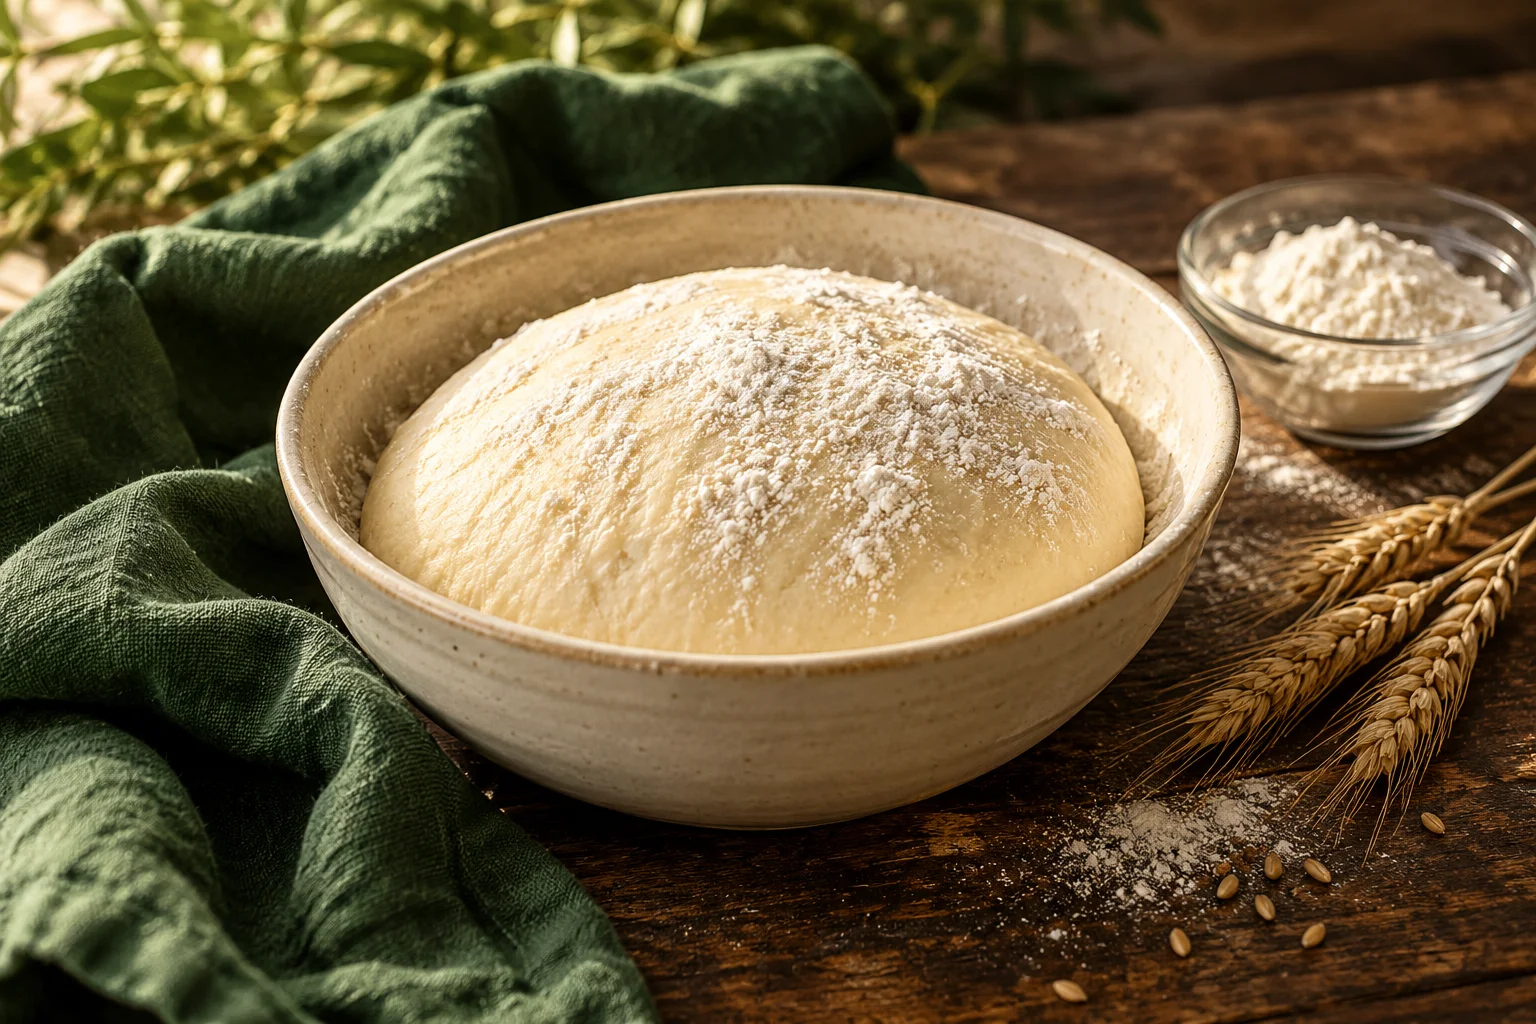
Use the recipe as your starting point
Choose a familiar lean bread dough rather than introducing a new flour, new starter and new temperature at once. Weigh the ingredients and record the dough’s temperature after mixing if you have a suitable food thermometer.
A container with room for expansion makes changes easier to see. Mark the starting level on the outside with a removable marker or band. Do not treat a particular volume increase as universal for every dough: the recipe, flour strength and fermentation method still matter.
Set up the supplied model
Follow the manual for unfolding the proofer, positioning its rack and using the water tray. Bread-proofing guidance and slow-cooking guidance are different modes, not interchangeable temperature recommendations.
For a familiar dough whose recipe suits that range, a moderate setting around 24–26°C is a useful comparison point. Choose a different setting when the recipe calls for it. Brod & Taylor notes that covering a container and adding humidity affect the food temperature; measuring empty-box air is not a substitute for understanding the dough temperature.
A controlled comparison
Make the dough as usual. Place the container on the rack as instructed, leaving space around it and following the manual’s guidance on covers and humidity. Observe at sensible intervals without repeatedly changing the setting.
Record when you see visible expansion, bubbles or a change in strength. Use your recipe’s folds where required. If fermentation is moving faster than expected, assess the dough instead of leaving it solely to match a printed schedule. Shaping and final proof still require their own judgement.
Keep the record short
A useful first record needs only the flour blend, room temperature, dough temperature if measured, proofer setting and the point at which you shaped the dough. Add one observation about the finished loaf after it cools.
On the next bake, change one variable. If you change flour, water, starter activity and setting together, you will not know which change made the difference. The goal is a repeatable routine in your kitchen, not an impressive-looking temperature chart.
After baking
Bake the dough thoroughly according to the recipe and cool the loaf before evaluating its crumb. Do not taste raw flour or dough. Keep clean tools and wipe spills following the appliance manual.
Disconnect and allow the appliance to cool as instructed before cleaning or folding it for storage. Empty, clean and dry the water tray as directed. A bread proofer is not automatically a safe general-purpose holding cabinet for unrelated perishable foods; use only processes covered by appropriate instructions.
Method
- Choose a familiar bread recipe and weigh the ingredients.
- Set up the rack, water tray and mode according to the supplied manual.
- Select the recipe’s temperature; for an appropriate familiar dough, compare a moderate 24–26°C setting.
- Observe and record dough development, shaping and proofing according to the recipe.
- Bake thoroughly, cool the loaf, then clean and dry the proofer as instructed.
Questions & answers
Does the displayed setting equal the air temperature?
Not necessarily. The manufacturer explains that food temperature is influenced by container covering and humidity; an air reading alone can be misleading.
Can I leave every dough for the same number of hours?
No. Flour, dough temperature, yeast or starter activity and the recipe all affect the fermentation endpoint.
Sources and further reading
Brod & Taylor official product support
Brod & Taylor official European FAQ